Here’s one of the more versatile projects you can make with the PiSoC. It’s a fully functional 1Msps 2-channel Oscilloscope, and an up to 10kHz arbitrary waveform generator. These are perfect for hobbyist and classroom use. The waveform generator can actually already be used in our Python API that ships with the PiSoC if that’s all your interested in.
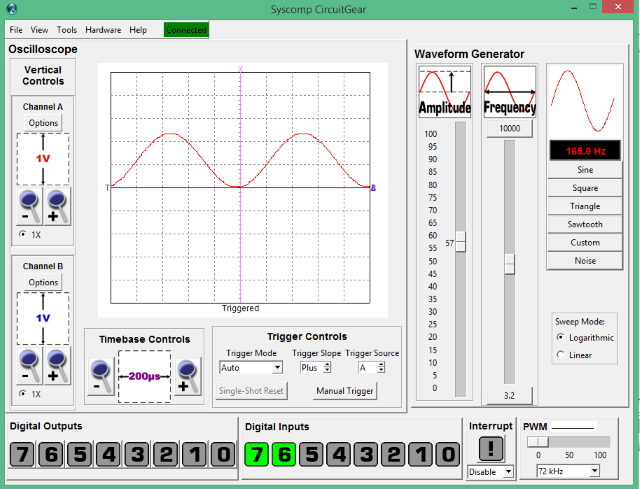
This project was made by engineers at Cypress, and edited by students at The Design Lab at Rensselaer. They’ve been generous enough to let us redistribute it, modified slightly for the PiSoC. Here’s what the software looks like:
Setup
I haven’t had a chance to make a nice installer yet so here’s some manual instructions in the mean time. I tested these on Windows 8 x64 but you should be good for any Windows version. The actual Oscope software can work on Linux and even on the Raspberry Pi, but you’ll need Windows to program your PiSoC right now.
PC Software
- Download and install Active TCL
- Open command prompt and run the following commands (without quotes)
- “teacup install twapi”
- “teacup install math::fourier”
- Download the Oscope Software – It’s based on the open source Syscomp CircuitGear software
PiSoC Software – PSoC Creator
If you don’t have it already, download and install PSoC Creator. Right now we have a PSoC Creator project that requires a Miniprog for programming. We will make a version that can programmed over USB soon.
- Download the PSoC Creator project. You’ll need to flash this onto the PiSoC with your Miniprog. If you don’t know how to use PSoC Creator, check out our tutorial on using it to program the PiSoC.
Usage
Oscope Channel A – P3.2
Oscope Channel B – P3.4
Waveform Generator Output – P0.0
- First, plug your PiSoC in to your computer over USB. You may or may not see a driver installation show up.
- Navigate to where you downloaded the Oscope software above.
- Open “oscope_launcher.bat”
- It will likely give you an error that the Com port cannot be opened. Just click OK
- Click on the Auto-Dectect button on the Connection Error window. It should find the device and will remember it for next time.
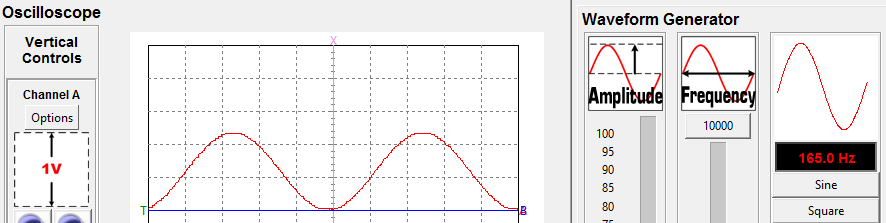
You should be all set! Try it out by using a wire to plug the Waveform Generator output into the Oscope Channel A input (P0.0 into P3.2) , click on a waveform on the right side of the window, and set an amplitude. You should see the waveform onscreen, and be able to change it by varying the amplitude and waveform type.
If you can’t get any of this to work on Windows 7 or above, let us know what’s wrong in the comment section or email me at barron@embeditelectronics.com. We are still working on instructions for other operating systems.